
A Step-by-Step Journey Into Custom Jewelry Design
Introduction
I never imagined that creating a piece of jewelry could be within my reach—even with no previous experience. Yet, I invested countless hours, exercised extreme caution, and revised my design repeatedly to give my fiancé’s engagement ring the best chance of success. This post shares the journey of how I used 3D printing to create a custom engagement ring from scratch.
Embracing Digital Design
From Fusion 360 to Blender
Initially, I started designing the ring in Fusion 360. However, I quickly realized that its engineering-centric tools were too rigid for creating the organic and artistic shapes I envisioned. That’s when I switched to Blender—a program I’d used casually in the past—and discovered its flexibility was perfect for designing something so personal
Sketching & Iterative Revisions
I began by converting a hand-drawn sketch into digital ring models. Over the course of the project, I made around ten different design variations, each with varying levels of complexity and refinement. I posted these in amateur jewelry communities and gathered feedback from friends and fellow enthusiasts. My primary concerns during the design revisions were:
- Wearability: Would the ring catch or scratch clothing and skin?
- Durability: Could it hold up under everyday conditions without breaking?
- Stone Setting: How should the prongs be spaced and angled to securely hold the gemstone?
Despite suggestions from professional jewellers to simplify the design and hand it over for their input, I was determined to maintain the integrity of my handmade model—even though this meant investing significantly more time and effort
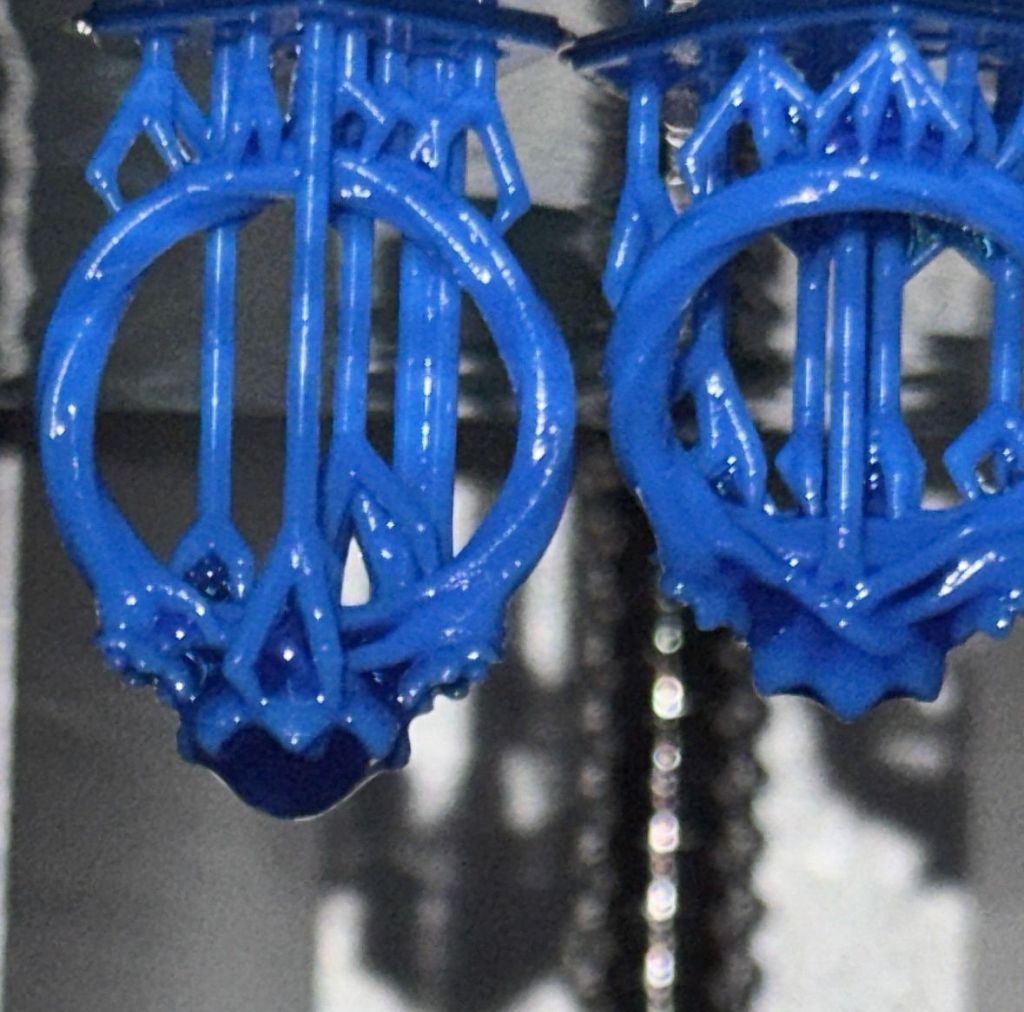
3D render of ring design

This render shows the ring design, which—while not final—captures the core shape and ideas that evolved through countless revisions.
Bringing the Design to Life
3D Printing the Prototype
Once I was satisfied with the digital design, I moved forward with 3D printing. With the help of my friend Sidd (from Siddament.com), I used his resin printer to produce a prototype in a wax resin I purchased on Amazon. This resin is ideal because it can be printed, embedded in plaster, and then burnt out to create a cavity for molten gold during casting.
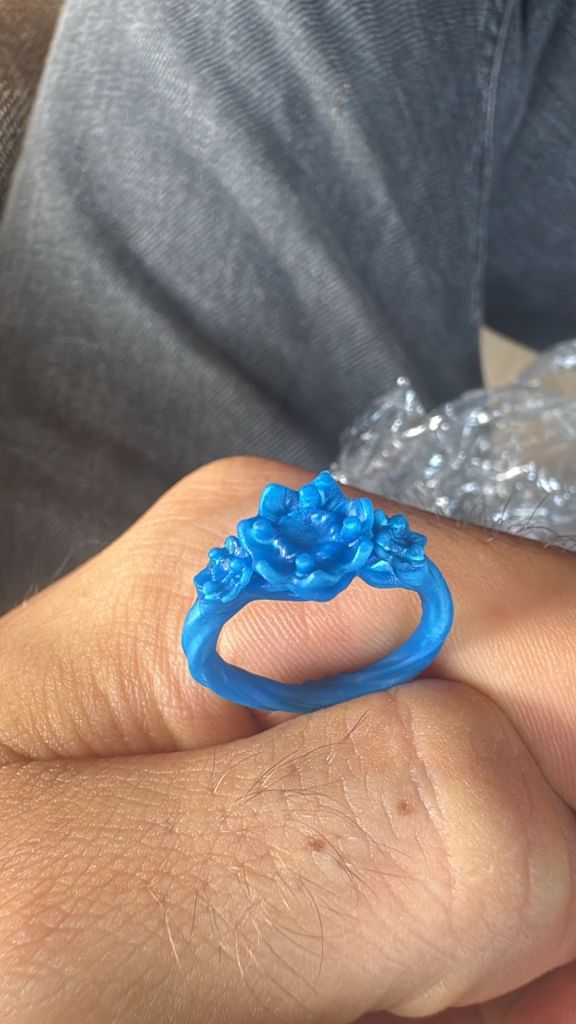
The prototype demonstrates the feasibility of the design, even though the details are slightly softened by the consumer-level printer.
Casting the Ring
Since investing in burnout ovens wasn’t practical at the time, I turned to a local casting company—RapidCasting. I uploaded my model to their site, received an initial quote quickly, i paid, they edited and updated the model quickly and i paid a bit extra (to account for gold loss and necessary channels), finalized my order. About four days later, the ring was cast. Initially, it arrived with a dull finish, as is typical with freshly cast pieces
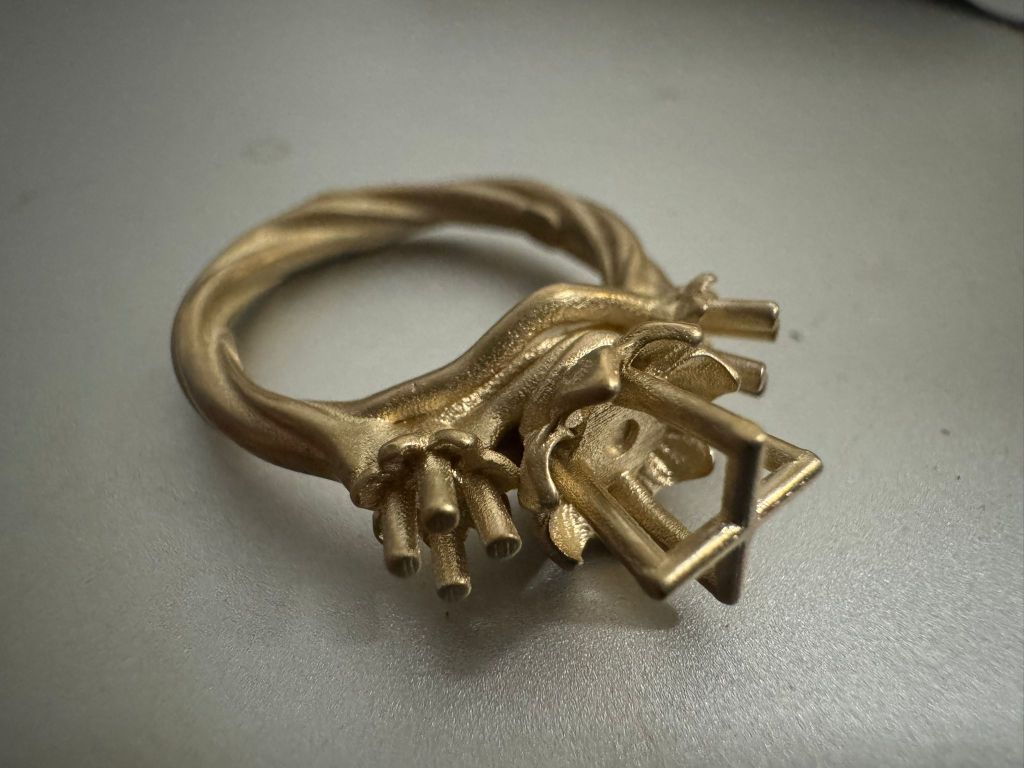
This image shows the ring immediately after casting, before any finishing touches were applied.
The Finishing Touches
Sourcing Gems and Final Adjustments
Finding the right gemstones was its own challenge. Local diamond sellers had high markups and limited size options, so I initially ordered from a U.S. seller. Unfortunately, an issue with the shipment forced me to purchase locally through Etsy, even though the price was higher. In the end, I secured two diamonds and a sapphire to complete the design.
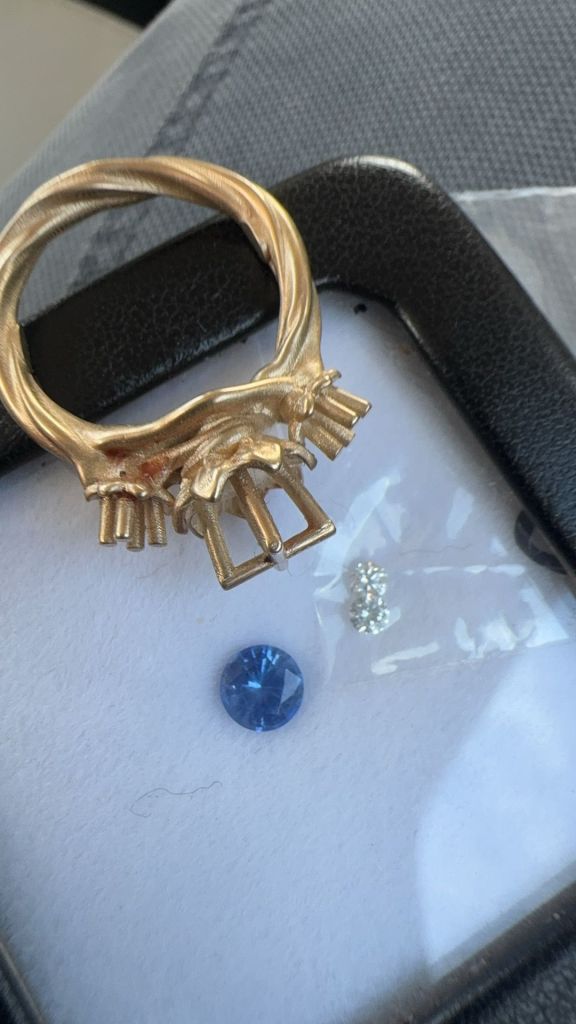
This photo displays the ring mounted with the gems that I eventually sourced, giving a preview of the final design
Polishing and Setting in Shenzhen
While traveling, I took a chance on finding a jeweller in Shenzhen—a city renowned for its jewelry industry. In a serendipitous meeting at a parking lot , I handed off the ring without much fanfare, and he assured me he could finish it the same day. Roughly 5–6 hours later, I picked it up, and it looked even better than I had hoped.

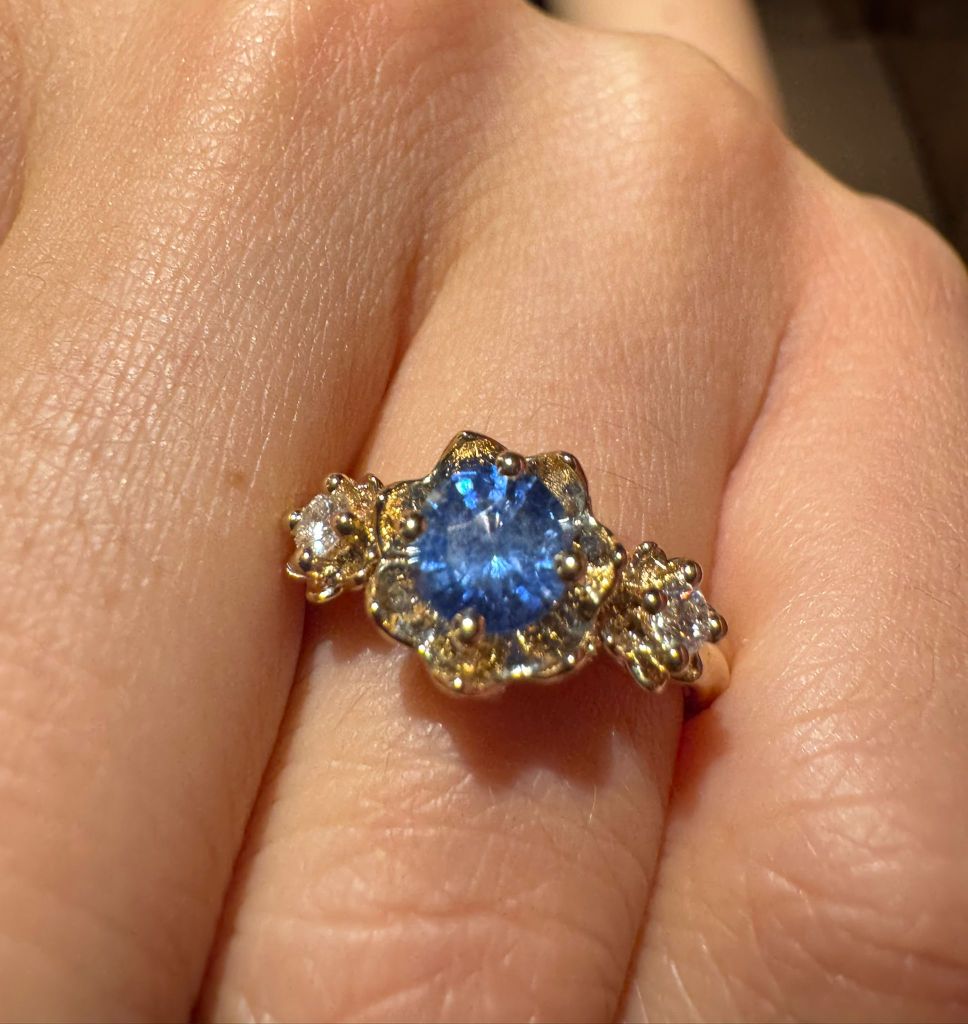
A close-up shot of the finished ring as it looked when I proposed.
When I returned home, I got down on one knee in front of my fiancé’s parents, offered her the ring and said “Marry me”. She loved not only the ring’s beauty but also the story behind it—the countless revisions, the meticulous attention to detail, and the innovative blend of modern technology with traditional craftsmanship.
She said yes
Conclusion & Next Steps
This entire journey—from my first sketch and digital designs to 3D printing and professional casting—has taught me that even without prior jewelry experience, passion and persistence can yield truly unique, custom-made pieces. I look forward to sharing more about my experience, especially regarding my collaboration with the jeweller in Shenzhen who we’ll be commissioning to make my ring next (Turns out he owns the jewelry factory). Stay tuned for my next post, or feel free to contact me at brotherk3d@gmail.com if you’d like to learn more.
Watch the Process on YouTube
If you’d prefer to watch the journey, I’ve started a YouTube channel where I’ve posted a video about the process.
